A honeywell home thermostat wifi can cut heating and cooling waste without turning your house into a lab. Honeywell Home Wi‑Fi thermostats pair Smart Response learning, geofencing, and scheduled events so your HVAC runs only when needed, which reduces short cycles and lowers furnace and compressor runtime. This article shows how scheduling beats manual control and gives simple settings you can try and measure in a week using the Honeywell Home app or Total Connect Comfort.
You’ll also learn how room sensors and zoning (T9 and T10) change the energy math by conditioning occupied areas instead of the whole house, plus what to expect for sensor placement, battery life, and averaging multiple sensors. You’ll see Resideo and Honeywell smart thermostat models (T5, T6, T9, T10, X2S, and RTH series), how their energy reports highlight easy edits, and which wiring and C‑wire items affect reliability. Try two report‑driven fixes that often cut bills quickly and one bolder tweak you can test in seven days.
Quick summary
Want fast wins? Focus on schedules, sensors, and a solid Wi‑Fi connection. Make one change at a time, then measure runtime in the app to see what actually moved the needle.
- Cut wasted runtime: Use Honeywell Home schedules and Smart Response so HVAC starts at the right time, which reduces short cycles and overall runtime.
- Zone with sensors: T9/T10 sensors condition occupied rooms rather than the whole house — optimize placement, expect battery tradeoffs, and use averaging or selective control for stable comfort.
- Get your Wi‑Fi right: most models use 2.4 GHz, so split SSIDs or enable mixed mode, check client/AP isolation, and confirm a C‑wire for continuous power.
- Pick the model: T5/T6 for basic scheduling, T9/T10/X2S for multi‑sensor zoning, and RTH variants if you prefer a color touchscreen.
- Measure then tweak: run an energy report, change one setting, and compare after a week to confirm savings.
How Honeywell Home thermostat Wi‑Fi actually cuts energy waste
Connected scheduling beats guesswork. A honeywell home thermostat wifi replaces manual fiddling with schedules that match how you live. Smart Response learning measures how long your system needs to reach setpoints, then starts earlier so the furnace or air conditioner runs more evenly and less aggressively. Enable auto‑away or geofencing in the Honeywell Home app and watch runtime fall when nobody is home.
Sensors heat where people are, not the whole house. T9 and T10 room sensors shift control toward occupied rooms and allow larger setbacks elsewhere, which shortens active runtime for many homes. Placement matters: a living‑room sensor behaves differently than a hallway sensor, and averaging multiple sensors smooths swings at the cost of masking a single cold spot. Expect battery replacements and some tuning to get control from the right sensor set.
Try one quick, report‑driven fix this week: tighten your night setback and monitor overnight runtime and cycle count in the app. If runtime drops and comfort stays acceptable, keep the setting; if short cycling appears, relax the setback or enable minimum‑cycle protections to protect equipment. Those measurements tell you whether a setting saves energy or stresses the system.
Wi‑Fi setup and network compatibility for Honeywell Home thermostats
Wi‑Fi is the most common setup headache, but most issues are easy to fix. Short version: most Honeywell Wi‑Fi thermostats use 2.4 GHz and won’t see 5 GHz‑only SSIDs, so provide a 2.4 GHz network or enable mixed mode. Also check for client/AP isolation and avoid WPA3‑only networks during setup because many thermostats require WPA2 or WPA2/WPA3 mixed mode.
There are two common connection flows. The modern path uses the Honeywell Home app for current models: add a device, follow the prompts, connect your phone to the thermostat’s temporary hotspot when prompted, then return to the app to select your home Wi‑Fi and enter the password. Watch the password field carefully — it’s case sensitive and pasted characters can include invisible symbols.
The legacy AP/browser flow still appears on older firmware. In that flow the thermostat creates a network named “NewThermostat_xxx” that you join with your phone, then a captive setup page appears where you choose the home SSID and enter the password. If registration asks for MAC or CRC, check the label on the thermostat’s backplate or the printed card in the box for those values.
Try these quick fixes before digging deeper; each one resolves a common failure so you can troubleshoot efficiently. Use them in order and only move to factory resets or advanced steps if a simple fix doesn’t work.
- Confirm 2.4 GHz: ensures the thermostat can see the network.
- Re‑enter the password (case sensitive): fixes typos and invisible characters.
- Reboot the router: clears temporary DHCP or handshake issues.
- Move the router closer or add an access point: reduces RF interference during setup.
- Toggle phone Wi‑Fi off/on during setup: forces a fresh connection to the thermostat hotspot.
- Factory‑reset the thermostat as a last resort: clears bad network configs and returns to the initial setup flow.
Pick the right Honeywell Home Wi‑Fi model for your HVAC and smart home
T5 and T6: simple, affordable smart thermostats. If you want straightforward scheduling, Smart Response learning, and a reliable touchscreen, the T5 and T6 cover those needs without extra complexity. They offer broad HVAC compatibility and work well with the Honeywell Home app for basic remote control. Note that some T5/T6 installs need a C‑wire for steady Wi‑Fi operation; see the T5/T6 C‑wire requirements for details and Honeywell’s recommendations.
T9, T10, and X2S: sensors, zoning, and automation. These models support room sensors and let you prioritize occupied zones, which can reduce runtime in homes with uneven heating or cooling. The tradeoff is added battery and placement maintenance plus occasional tuning to get the sensor set right. Bundles vary—some include sensors, others sell them separately—so check what’s in the box before you buy. You can also browse the Honeywell Home Wi‑Fi thermostats collection to compare model features and bundles.
RTH and color touchscreen variants focus on on‑device convenience and a nicer display. These models usually require the Honeywell Home app and a quick account registration to enable cloud features and voice assistant integration. Some SKUs advertise efficiency benefits, but most savings come from scheduling, sensors, and proper wiring rather than the screen itself. If you prefer a color display, see Honeywell’s Wi‑Fi smart color thermostat for a representative pick.
Quick match checklist: confirm your HVAC type (heat pump versus conventional), verify wiring and C‑wire availability, decide whether HomeKit integration matters, and decide if you actually need room sensors. Match simple systems to T5/T6, sensor‑driven zoning to T9/T10/X2S, and color‑display preference to RTH models. With the right model picked, wiring and installation determine whether those savings actually happen.
Wiring, C‑wire requirements, and installation options
Most Wi‑Fi thermostats need continuous power to keep radios, displays, and schedules running, so they typically require a 24V common connection. Batteries may keep the clock alive, but Wi‑Fi radios drain them quickly. If you’re buying a honeywell home thermostat wifi, plan for a C terminal — many current models list a C‑wire requirement.
If a C‑wire isn’t present there are practical alternatives that often avoid running new cable. Options include using an unused spare conductor, installing a C‑wire adapter or power extender, or pulling a proper common wire at the furnace control board. Adapters work well for single‑stage systems but can fail on multi‑stage or heat‑pump setups.
- Use an unused spare conductor in the thermostat cable and attach it to C at the furnace control board.
- Install a C‑wire adapter or power extender. These work well for single‑stage systems when running new wire is difficult.
- Add a proper C‑wire at the furnace control board by pulling new wire or converting an unused terminal into C.
Adapters can be a tidy short‑term fix, but Honeywell doesn’t ship a Nest‑style PEK and some adapters fail on multi‑stage or heat‑pump systems. Avoid tricks that steal power from the fan relay or jumper terminals, as those can cause fan cycling and control faults.
Do a quick wall check before you buy: remove the old thermostat, photograph the wiring bundle, and look for a labeled C or an unused conductor. Note the R, G, Y, and W wires and label each conductor with tape for a clean reference.
Shut power off at the furnace before touching terminals and take clear photos of the control board for reference. If you are comfortable working on the board, a DIY install can save time; otherwise call a professional when the system is multi‑stage, dual‑fuel, or shows unfamiliar terminals.
App control, voice assistants, and smart‑home compatibility
Resideo currently provides two cloud experiences: the Honeywell Home app for recent models and Total Connect Comfort for older Lyric‑era devices. The Honeywell Home app handles remote control, flexible schedules, and energy reports under the account dashboard, while Total Connect Comfort maintains support for legacy Lyric models. To get started, create an account, verify your email, add a device by Wi‑Fi or QR code, and complete the in‑app pairing flow.
Voice control works with Alexa and Google Assistant on most Wi‑Fi Honeywell models for commands like set temperature, change mode, and run a quick boost. Native Apple HomeKit support is limited to select models, so when HomeKit isn’t native use Homebridge as a local bridge. Proven Homebridge plugins expose Honeywell devices to HomeKit and keep automations local and responsive; see the Homekit Hub guides for plugin recommendations and setup tips.
Automations can cut runtime without making the house uncomfortable. Two simple recipes often deliver measurable savings when you measure after the change.
Recipe 1: aggressive night setback with pre‑heat. Set the thermostat back 4–6 degrees at bedtime and create a schedule event to return to the comfort setpoint about 30 minutes before wake time. In the Honeywell Home app add a night schedule and then configure a pre‑heat offset so the system finishes ramping just before you get up.
Recipe 2: geofence away mode. Give the app location permission, create an Away scene that drops setpoints 5–8 degrees, and link that scene to a geofence that triggers when the last phone leaves the home. This eliminates many manual holds and reduces runtime when the house is empty.
If your home is Apple‑first, buy a HomeKit‑capable model where available or run Homebridge with proven plugins and the Homekit Hub guides for a stable local bridge. A local bridge reduces cloud dependence so voice and automations respond faster and stay reliable during internet blips. Proper local setups also keep privacy tighter and automations more predictable in mixed‑protocol environments.
Troubleshooting Wi‑Fi, reading energy reports, pricing and buying tips
The checklist for the five most common Wi‑Fi problems
If your honeywell home thermostat wifi keeps dropping, start with this fast checklist so you can move on. Try the single action listed for each issue first, then dig deeper only if the quick fix doesn’t work.
- Wrong band: Force the thermostat onto the 2.4 GHz SSID in the Honeywell Home app or router settings; most thermostats only reliably use 2.4 GHz.
- Weak signal: Move the router or add an access point so signal at the thermostat is at least -67 dBm; a small reposition often fixes flakiness.
- Captive portal network: Connect both thermostat and phone to the same unrestricted network, then complete the portal login from a laptop to clear the block.
- MAC filtering: Add the thermostat’s MAC to the router’s allow list; whitelisting fixes most filter lockouts.
- Firmware mismatches: Update the thermostat firmware from the Honeywell Home app; new firmware resolves router compatibility and cloud changes.
Router firmware and mesh access point quirks can cause odd failures. Update router firmware and disable smart‑steering on mesh nodes when installing a Honeywell smart thermostat. Also consider repositioning or adding an access point to improve signal stability.
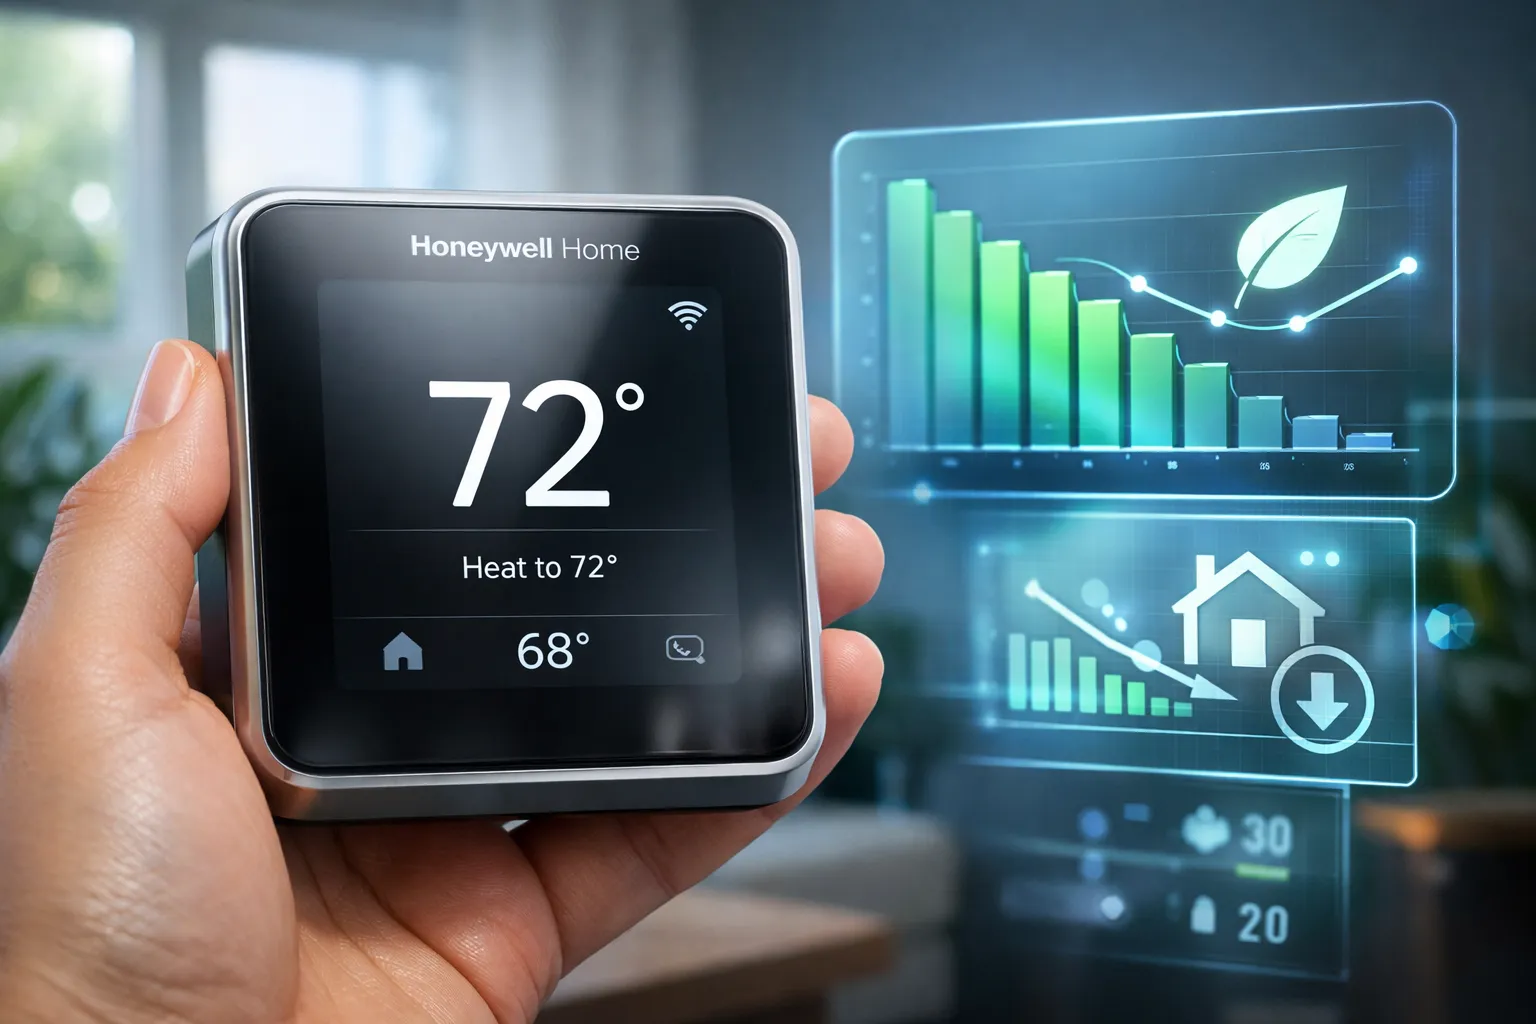
How to read energy reports for Honeywell Home thermostat Wi‑Fi
Open the energy report and spot high runtime days, then compare those dates to schedule changes or weather spikes. If a day shows excessive runtime, check whether a temporary hold, a blocked vent, or a manual schedule was in effect. Use that context to decide whether a schedule tweak or a hardware fix is needed.
Two quick edits that typically show results within 7–14 days are raising the occupied setback by 1–2 degrees and shortening hold durations for temporary overrides. Track changes by noting average daily runtime before and after in the Honeywell Home app and compare two weeks of baseline to the two weeks after the change to confirm savings. Small, measured changes beat guessing.
Price ranges and buying tips for Honeywell Home thermostat Wi‑Fi
Expect budget models around $70–$110, mid‑range $120–$200, and premium $200–$250. Check Amazon, Home Depot, Lowe’s, Best Buy, and the Honeywell Home store for stock and deals, and search local utility rebates to reduce net cost. For a broader overview and buying checklist consult Honeywell’s own thermostat guide before you buy.
How The Homekit Hub speeds setup and next steps
The Homekit Hub collects wiring diagrams, Homebridge plugin picks, mesh router tips, and long‑term reliability notes so you get step‑by‑step guidance without paid service. Use the quick match checklist and the wiring checklist in this article, then follow the model‑specific setup path that fits your home. A honeywell home thermostat wifi becomes an energy‑management tool instead of just a calendar for setpoints when you pair the right model with proper wiring and measured settings.
Why this matters for your home and energy bill
A honeywell home thermostat wifi is more than a convenience; it helps cut waste and tighten control over heating and cooling. The Honeywell Home app provides three actionable signals: total runtime, schedule compliance, and connectivity health, and those signals reveal where energy leaks occur. Use the energy reports to measure baseline runtime and spot schedule mismatches that drive unnecessary runtime.
Leave a Reply