Shopping for a nest wifi thermostat? This practical guide shows which Google Nest model saves the most money and how to avoid common wiring headaches. You’ll learn whether your HVAC needs a C‑wire, what each model offers, and a short Nest vs Ecobee comparison to help you decide.
Quick summary
Here’s a short checklist for quick decisions and setup priorities. Run these checks before you order or start installation.
- Model choice: The base Google Nest Thermostat is the low-cost, easy pick for single‑stage systems. The Thermostat E tightens the interface and adds guided scheduling, while the Learning Thermostat handles multi‑stage HVAC, remote sensors, and deeper diagnostics for the biggest automated savings.
- Verify C‑wire: Photograph the old wall plate and match lead colors to R, W, Y, G, and C before you buy. Only proceed if you have a C‑wire or a compatible power adapter so the thermostat receives steady 24V.
- Confirm Wi‑Fi: Check each model’s supported band and security and test signal strength at the thermostat location. Weak Wi‑Fi is the most common setup delay, so verify coverage before purchasing.
- Install checklist: Turn off the breaker, label each lead, follow the wiring diagram, and test the system after powering back up. Hire a pro for O/B wiring, dual-transformer setups, or anything that looks unusual to avoid damaging control boards.
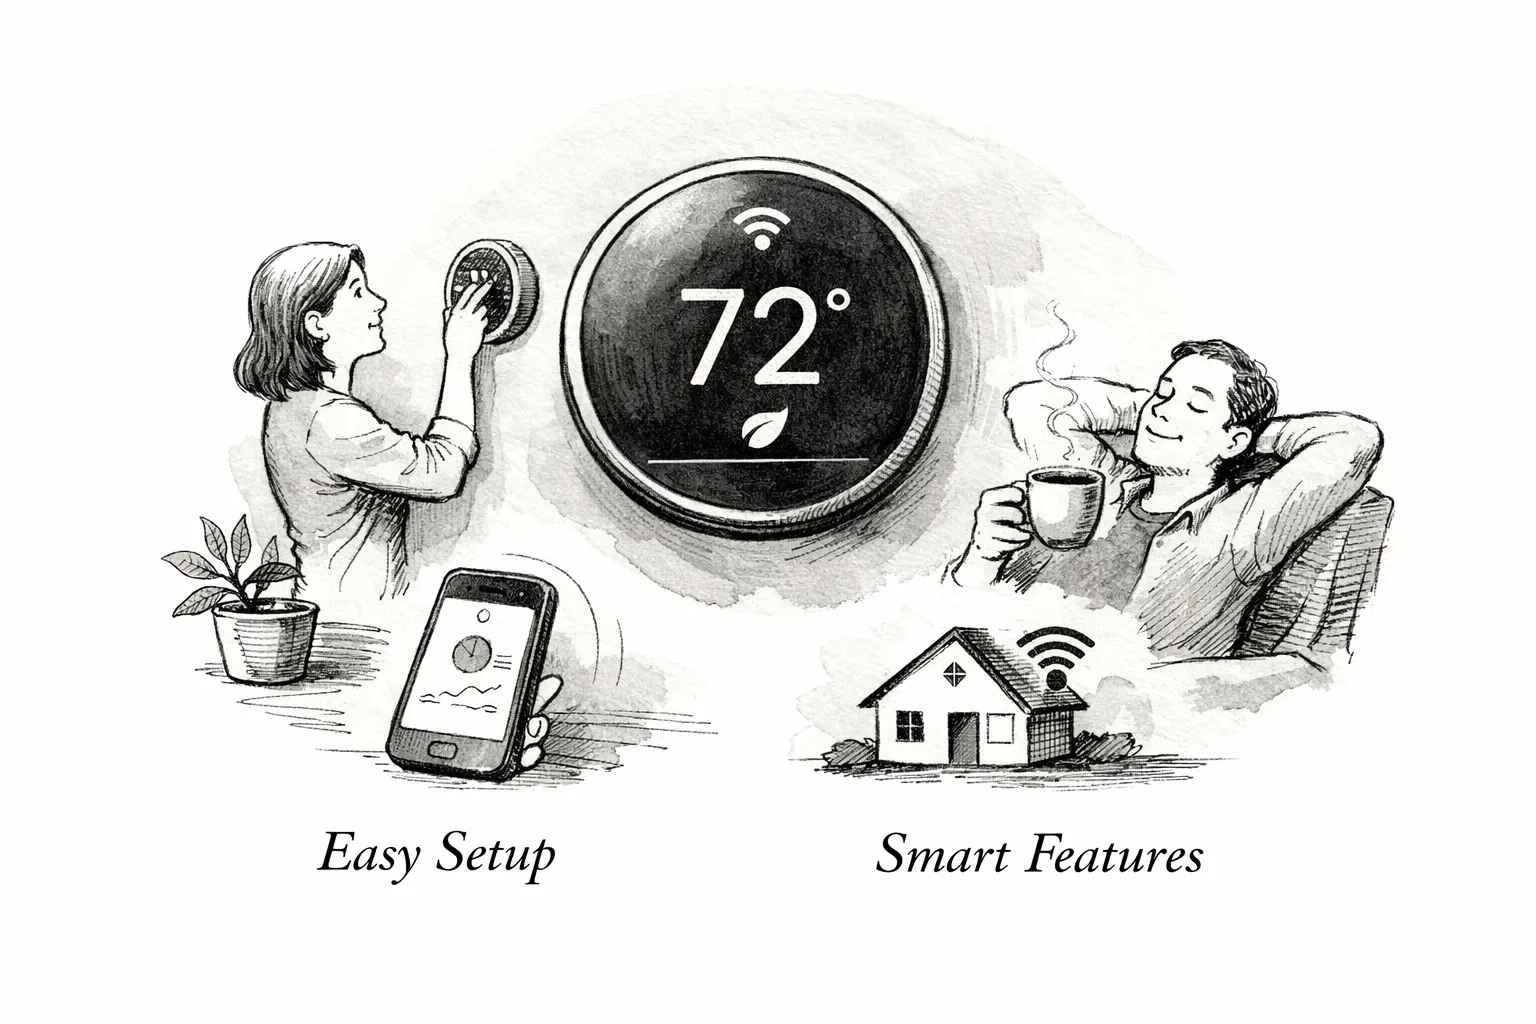
Which Nest Wi‑Fi thermostat is right for your home?
Match the model to how you live, not to the feature list. For the simplest remote control and the lowest cost, the base Google Nest Thermostat is usually enough. The Nest Thermostat E gives a cleaner display and guided schedules, while the Nest Learning Thermostat fits multi-stage systems, remote sensors, and users who want detailed diagnostics.
- Budget pick: Google Nest Thermostat — basic smart features, wide retail availability, and straightforward single-stage compatibility. It’s the easiest to set up for a standard furnace or single-stage heat pump.
- Simpler UI: Nest Thermostat E — cleaner display and guided schedules without the premium price. Good if you want less fuss but still want smart scheduling.
- Top-tier: Nest Learning Thermostat (4th gen) — learning algorithms, room sensors, and system health alerts. Best for multi-zone homes, humidifier or ventilation controls, and advanced diagnostics.
When choosing, focus on display clarity, HVAC compatibility, remote-sensor support, and learning features since those affect daily comfort and actual savings. Base models trade diagnostic and sensor support for a lower price; the Learning Thermostat adds automation depth and broader compatibility with humidifiers and ventilation controls. Ecobee generally ships with room sensors and stronger Alexa integration, which helps larger homes that need room-by-room comfort, while Nest integrates tightly with Google Home and provides hands-off energy reports.
If you need help matching a model to your HVAC or budget, read the compatibility and wiring section next. We can also review your wiring photo and recommend the simplest path to a reliable install.
Compatibility and C‑wire: what to check before you buy
Before you buy a nest wifi thermostat, turn off the breaker, remove the old thermostat, and take a clear photo of the wall plate with the wires attached. That photo is the single best troubleshooting tool—you’ll upload it to the Nest compatibility checker or show it to a technician to verify terminals labeled R, Rc, Rh, W, Y, G, C, and O/B.
Typical single-stage systems show R plus W, Y, G, and C and are usually straightforward to install. Systems with only R and W may be heat-only and could need a power solution, while O or multiple Y or W terminals usually indicate a heat pump or multi-stage setup that often calls for expert help.
Missing a C‑wire is common and generally solvable. Options include adding a Nest Power Connector at the furnace to provide steady 24V, installing a furnace-side adapter, or running a new wire for the most reliable long-term fix.
Avoid DIY on nonstandard systems such as line-voltage 120V controls, millivolt heaters, or setups with multiple transformers and accessory terminals. If your wiring looks unusual, stop and call a professional to avoid damaging control boards—a short call can prevent an expensive mistake.
Network requirements for your Nest Wi‑Fi thermostat
Confirm network requirements before you start setup so pairing goes smoothly. Each Nest model supports specific bands and security modes—check the specs and match them to your router settings, SSID, and password.
Requirements are a stable connection, modern encryption, and no captive portals or guest-network restrictions that block pairing. If you’re unsure, note your router settings, use DHCP with consistent IPv4 addressing during setup, and briefly disable guest SSIDs or captive-portal features so the thermostat can authenticate.
Mesh systems and extenders usually work, but features like band steering, SSID splitting, and AP isolation can break discovery. Put the thermostat on the main LAN SSID, test 2.4 GHz signal strength at the mounting location, and add a small access point or plug-in extender if readings are poor. Disable MAC filtering and allow mDNS or local discovery on the router so the Nest app and Google services can find the device.
Installation walkthrough: DIY steps, testing, and common gotchas
Set your phone to Do Not Disturb, label each lead with tape, and gather a screwdriver, wire stripper, a level, and a flashlight. If the thermostat sits high, have someone steady the ladder to speed the job and reduce mistakes.
Remove the old thermostat and mount the Nest backplate level, then strip roughly 3/8 inch of insulation and insert each conductor into its labeled connector. The Nest app walks you through wiring verification and system testing, including heat, cool, fan, system type, and heat pump options. Restore power only after the backplate is secure and the app confirms wiring. Most straightforward installs take 20 to 30 minutes once you follow those steps.
Common fixes usually point to power and wiring. If the thermostat shows no power, check the furnace fuse and the C connection first, since a missing common or a blown 3A or 5A fuse is a frequent cause. If modes act oddly, verify terminal wiring and O/B heat-pump mapping, consider repurposing the G wire as a temporary common, or install the official Power Connector.
Record any help codes the app shows, since they point to specific faults you can relay to a technician. After setup, run each mode for a few minutes and use the app’s system health checks to confirm heat, cool, and fan operation. If problems persist, save your wiring photo and call a professional rather than continuing to work on live wiring.
Smart scheduling and energy features that actually save money
The Nest Learning Thermostat builds a schedule from your adjustments, occupancy patterns, and local weather, while lower-cost models use guided schedules you can tweak. The learning model reduces manual changes over time as it predicts your comfort preferences, but allow a couple of weeks for data collection before judging results. Don’t expect it to fix a poorly configured HVAC—initial tuning may still be necessary.
Remote sensors and occupancy detection help balance hot and cold rooms by prioritizing the spaces you actually use. Learning supports room sensors and more advanced presence logic, which matters for long hallways, sun-facing bedrooms, or open-plan floors. If most of your home heats and cools uniformly, one or two sensors are usually sufficient; they make the biggest difference where persistent hot or cold spots exist.
Expect average savings of roughly 10 to 15 percent on heating and cooling, which commonly equals about $100 to $150 per year depending on climate and habits. A basic unit near $130 can pay for itself in one to two years, while a $280 Learning Thermostat plus sensors may take two to four years unless you qualify for rebates. Many utilities and demand-response programs offer rebates that reduce upfront cost by $50 to $200, so check incentives before buying. Compare expected savings, payback timelines, and available rebates to decide whether sensors or the high-end unit make financial sense for your home.
Smart schedules and targeted sensors cut bills and improve comfort, but they are not a shortcut to zero energy use. Proper wiring and a reliable network are the foundation for these features to work consistently; review the installation walkthrough above before relying on automated savings.
Buy, install and next steps (including our pro install option)
Expect price bands that reflect features and finish: the base Nest Thermostat typically runs $100 to $150, the Thermostat E about $130 to $180, and the Nest Learning Thermostat around $279. Prices vary by retailer and color, so compare the Google Store, Best Buy, Home Depot, and Amazon before buying. Confirm the exact model, color, and return policy before checkout to avoid surprises.
Decide DIY versus professional installation based on the wiring behind your plate and your comfort with electrical work. DIY is reasonable for simple single-stage systems with a C‑wire, but call a pro if you see line-voltage wiring, multiple R/W/Y stages, or accessory terminals. Weak Wi‑Fi or messy wiring are also good reasons to hire an installer to avoid repeat visits.
- Do you have a single-stage furnace or heat pump and a C‑wire? If yes, DIY is usually OK.
- Is the old thermostat tied to 240V electrical or labeled with multiple stages (O/B, Aux, E)? Hire a pro to avoid damage.
- Is Wi‑Fi weak at the thermostat location or wiring messy? Consider a pro install to avoid repeat trips.
Our Homekit Hub install team performs compatibility checks, can add a C‑wire or fit a Nest Power Connector, and maps multi-stage equipment correctly. We also optimize your router so the thermostat stays online, addressing the two most common failure modes: inadequate power and flaky Wi‑Fi. After a short demo we hand you a tested system that prevents midwinter headaches.
Photograph your wires, run the Nest compatibility tool, test Wi‑Fi strength at the thermostat location, and then choose DIY or pro based on those checks. If wiring or network complexity looks difficult, book a Homekit Hub install so your new thermostat performs reliably rather than dropping offline when you need heat. Request a quote or schedule an install on our site to lock in a pro visit.
Choose the right Nest Wi‑Fi thermostat
Choosing the right nest wifi thermostat comes down to matching features to how you live. Do three practical checks: pick the model that fits household needs, verify compatibility and the C‑wire, and confirm your network meets Nest requirements. If you prefer, our team can run those checks and recommend the simplest path to a reliable install.
Leave a Reply